
I found this shadow box picture at the thrift store for only $4.00. I liked the frame, especially the inside part of it. It made me think of beadboard.


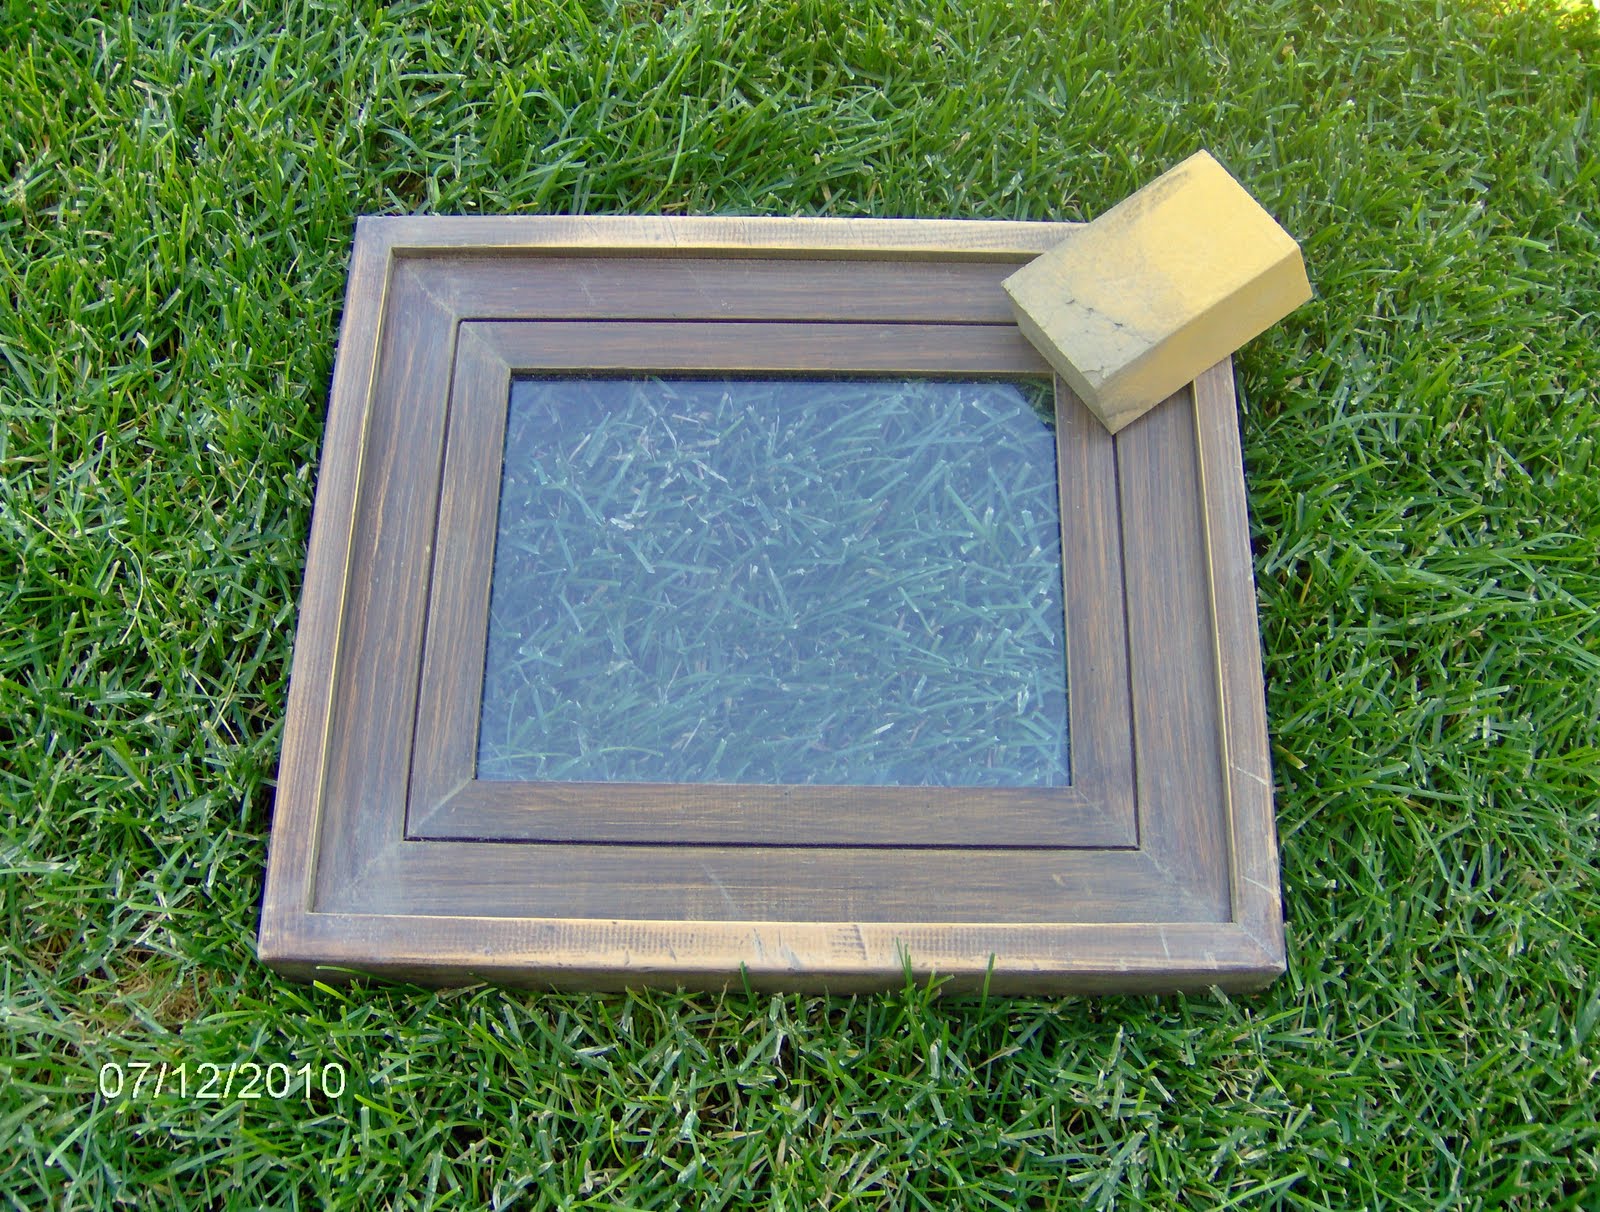
I started by taking the back off. The staple remover worked great. I used the needle nose pliers to grab the staples that didn't come right out.

I was sooo glad that when I took the back off that I didn't find any spiders or other gross surprises. I was a bit worried about it. This is what it looked like inside:

Next, I lightly sanded the wood.
I had read somewhere that you could use baby wipes to clean the dust off after sanding. I tried it, but it didn't work so well for me. The wipes caught on the wood and left fibers behind. I think next time I will just wipe it down with an old rag.

I primed it with Krylon spray primer. It worked well, but it would have helped if today wasn't so windy. I'm thinking that I shouldn't be painting on a windy day, but where I live if I waited for it to stop blowing I'd never paint!

I had to tape paper over the glass because it was glued in.

The primer dried very quickly so I sprayed the white paint right on (two coats), distressed it some, and then sprayed on a coat of clear sealant spray.

At this point I have to decide what color to paint the outer edge of the frame. The color will depend on where I decide to hang it and what I put inside. It's going to take some thought!


No comments:
Post a Comment